building a house steps
Building a House Step by Step: The Decisions to Make at Each Stage
The stages of building a house, from budget and land to handover, and the decisions to lock in at each one so you don't pay to change them later.
Building a house is a long chain of decisions. Most of them are cheap to make early and expensive to change later. A wall moved on paper costs an afternoon of drawing time. The same wall moved after it has been framed, wired and plastered costs labour, materials and weeks.
This guide walks through the stages of building a house in the order they usually happen, and for each one, the decisions you should have settled before it starts. The stages are broadly the same wherever you build. The rules, permits and typical costs are not, so treat this as the map and check the details with your local builder, architect or building authority.
Stage 1: Set your all-in budget
Start with money, not land and not plans. Your budget has to cover far more than the house itself:
- the land (if you don't own it), plus legal and transfer costs
- design fees: architect or designer, engineer, surveys and soil tests
- permits, connection fees for water, power and drainage, and any local levies
- the build contract itself
- everything outside it: driveway, landscaping, fencing, window coverings, appliances
- finance costs, such as interest during construction
- a contingency buffer for surprises
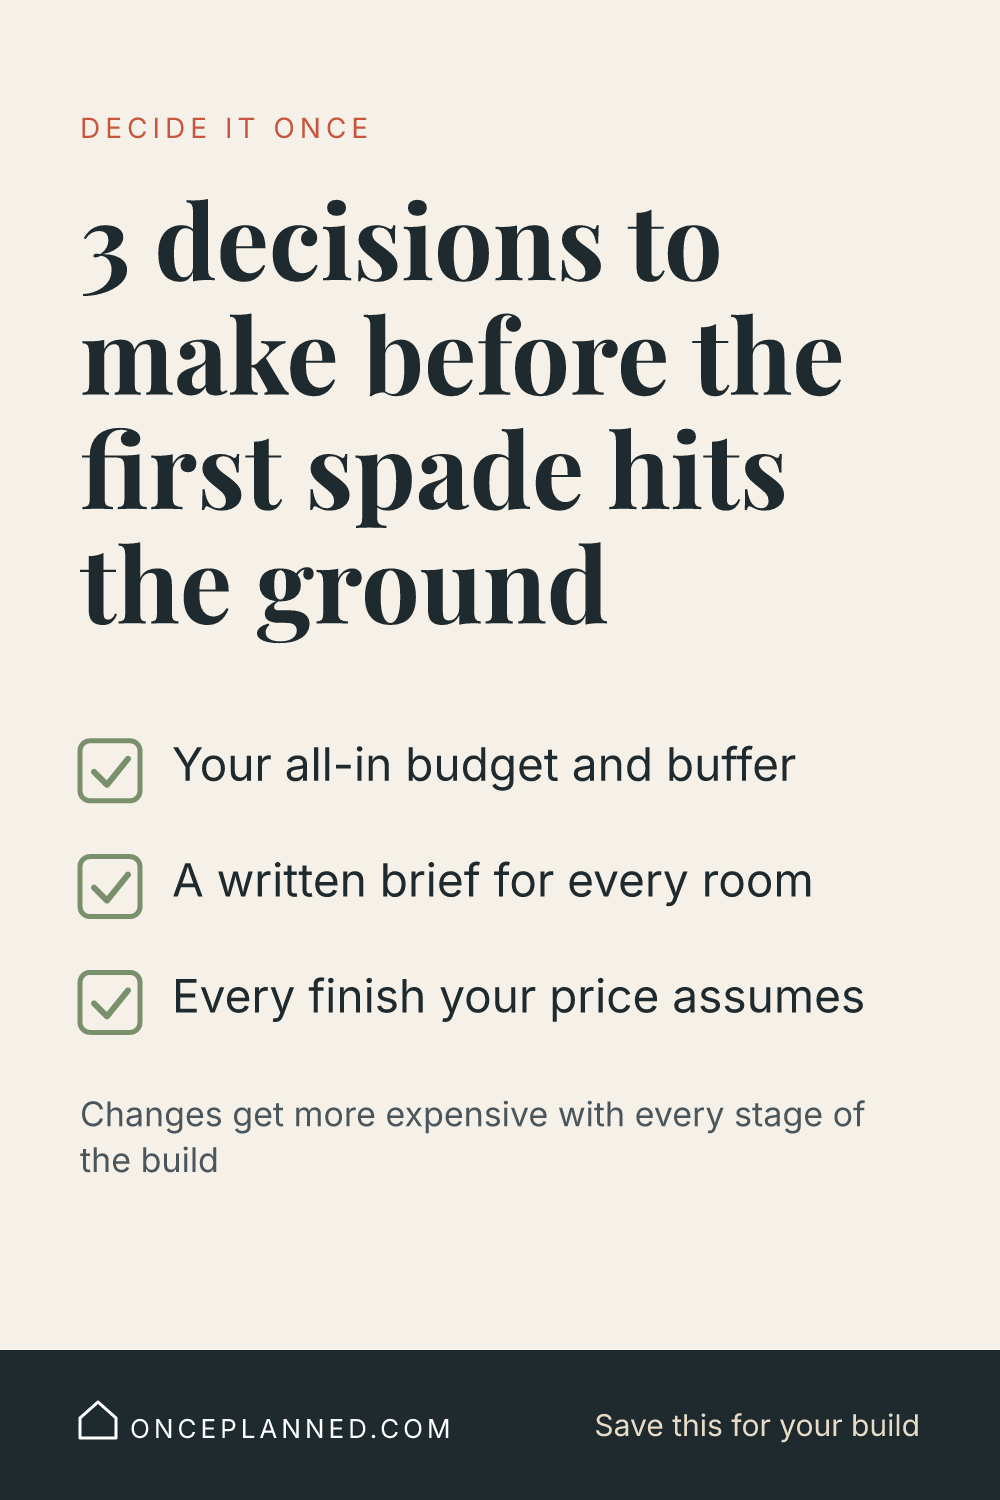
Decide before moving on: the total you can spend, and how big your buffer is. Many builders and lenders suggest keeping a contingency of 10 to 20 percent of the build cost, but the right figure depends on your site, your design and how fixed your contract price is.
Stage 2: Check your finance
Building is usually financed differently from buying an existing home. Depending on where you live, you may need a construction loan or a self-build mortgage that pays out in stages as the work progresses. Your lender may need plans, a fixed-price contract and builder details before approving anything.
Decide before moving on: how the build will be paid for, when each payment is released, and what the lender needs from you and your builder.
Stage 3: Find and check the land
If you don't already own a plot, the land shapes everything that follows. Before you buy, find out:
- what you're allowed to build there (zoning, planning or permit rules)
- whether water, power, sewer or septic, and road access are available, and what connection will cost
- the ground conditions: slope, soil type, flood risk, rock
- the orientation: where the sun comes from, the prevailing wind and the views
A cheap plot can become expensive once you add retaining walls, deep foundations or a long service connection.
Decide before moving on: that the site can carry the house you want at a cost that fits your budget.
Stage 4: Write your brief
A brief is a plain written description of how you want to live in the house. It's the most underrated step in the whole process. It should cover:
- who lives there now, and who might in ten years
- every room: what happens in it, roughly how big it needs to be, and what must sit next to what
- storage: where coats, shoes, bags, tools and bikes actually go
- your must-haves, nice-to-haves and things you'd cut first if the budget runs short
Your Pinterest boards are a good start, but pictures don't tell a designer how you live. Write it down.
Decide before moving on: a brief you'd be happy to hand to any designer.
Stage 5: Design and drawings
Your architect or designer turns the brief into a layout, then detailed drawings. This is the cheapest place to change anything, so use it. Walk through a normal day on the plan: arriving home with shopping, cooking, putting children to bed, working from home. Measure your current furniture and draw it in.
Check the dimensions that matter most in daily use: hallway widths, kitchen clearances, door swings, stair dimensions, and space around beds and tables.
Decide before moving on: the final layout, window positions, ceiling heights and the structural system. After this point, layout changes start to ripple into engineering, permits and price.
Stage 6: Permits and approvals
Most places require approval before you build, whether that's planning permission, a building permit, or both. Some also require inspections at set stages during construction. Timelines vary widely, so ask early.
Decide before moving on: nothing big. Changes after approval can mean resubmitting.
Stage 7: Choose your builder and sign the contract
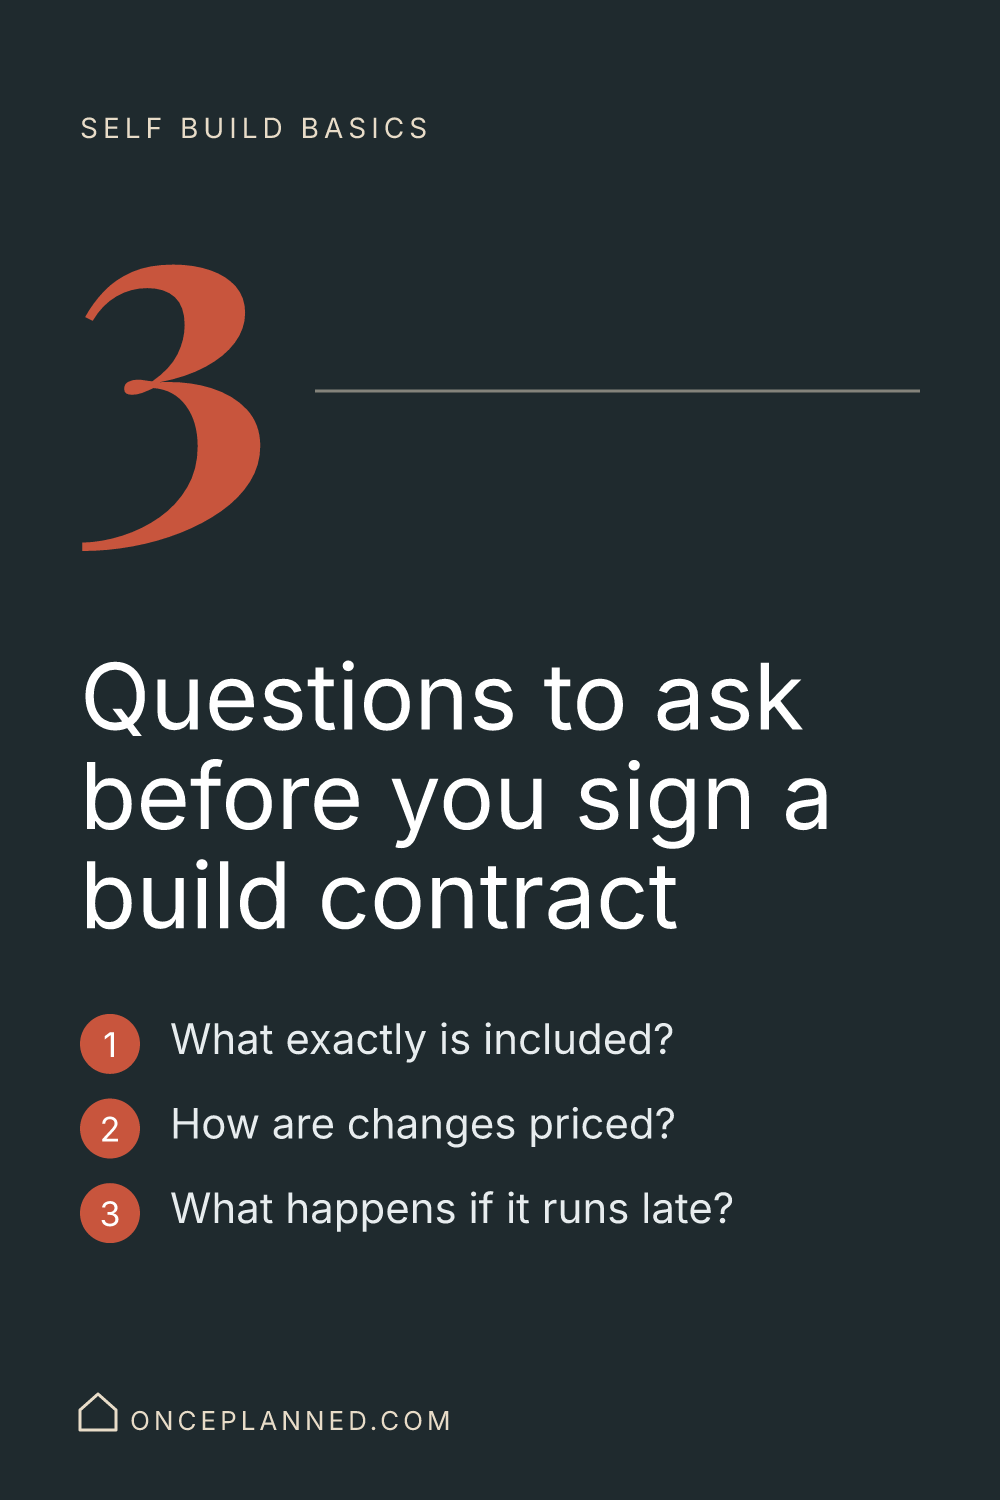
Get comparable quotes based on the same drawings and the same specification. Then ask every builder, in writing:
- What exactly is included, and what is excluded?
- Which items are allowances (provisional sums), and are those amounts realistic for what you've chosen?
- How are changes priced and approved, and is there an admin fee on top?
- What is the payment schedule, and what has to be finished before each payment?
- What happens if the build runs late, and who pays?
- What warranties do you give, and for how long?
Allowances are where many budgets quietly break. If the contract assumes a basic kitchen and you've been pinning stone worktops, the difference lands on you later.
Decide before moving on: every finish and fixture the price assumes, or a realistic allowance for each one.
Stage 8: Site works and foundations
The site is cleared and levelled, services are brought in, and the foundations are poured. Surprises here usually come from the ground itself, which is why the soil checks in stage 3 matter.
Decide before moving on: where drains, water and power enter the house, and any underfloor pipes or ducts. These are buried for good.
Stage 9: Frame, roof and closing in
The structure goes up, the roof goes on, and windows and doors are fitted so the house is weathertight. This is the stage where people walk inside for the first time and want to move things. Some small changes are still possible, but now they cost real money.
Decide before moving on: every socket, switch, light, data point and plumbing position. Walk through each room with the electrician's plan before the rough-in.
Stage 10: Services, linings, finishes and handover
Pipes and cables go into the walls, then insulation, plasterboard or render, then kitchens, bathrooms, flooring, paint and fittings. At the end comes a final inspection and handover, usually with a list of defects (often called a snag list or punch list) for the builder to fix.
Decide before moving on: nothing new. If you're still choosing tiles at this point, delays and change charges are likely.
Keep every decision in one place
The common thread is that each stage is the last cheap moment for a particular set of choices. A simple decision register helps: a list of every decision with the date, the options you considered, what you chose and why. It stops the same question being argued twice, and it gives your builder one clear source of truth. The Once Planned decision kit is built around exactly this.
Decide before you build: checklist
- All-in budget, including land, fees, finance and a contingency buffer
- Finance approved, and you know when each payment is released
- Site checked for rules, services, ground conditions and orientation
- Written brief covering every room and all storage
- Final layout walked through a normal day, with furniture drawn in
- Every finish and fixture chosen, or a realistic allowance agreed
- Change process, payment schedule and delay terms agreed in writing
- Electrical and plumbing positions confirmed before rough-in
Save these for your build