what is a change order
What Is a Change Order? How to Avoid Paying for Them
A construction change order is a written change to your build's scope, price or time. Learn why they cost more mid-build and how to control them.
You signed the contract. The walls are going up. Then you stand in the half-built kitchen and think, "I wish that doorway were wider." The next thing you receive is a change order, and it is usually more expensive than you expected.
This guide explains what a change order is, why it costs more the later you ask, and how to set up a simple process so you stay in control of your budget.
What is a change order?
A change order is a written agreement between you and your builder that changes the original contract. It alters one or more of three things:
- Scope: what gets built or installed.
- Price: what you pay for it.
- Time: when the work finishes.
In construction, a change order is the paper trail for "we are no longer doing exactly what we agreed." It should be signed by both sides before the changed work starts.
The name varies by country and contract type. You may hear variation, variation order, contract modification or extra work order. The legal weight, notice periods and what counts as a valid change differ from place to place. Under some standard contracts, such as the UK's JCT forms, the architect or contract administrator can instruct a variation and its value is settled afterwards; US AIA contracts have a similar route called a construction change directive. Ask your local builder, architect or building authority how it works where you live, and read the change clause in your own contract.
Who starts a change order?
Not every change order is the homeowner's fault. They usually come from one of four sources:
- You change your mind. New layout, different finish, an extra room.
- Missing or unclear decisions. The plans said "tile, to be selected" and nobody selected it.
- Unforeseen conditions. Poor soil, hidden rot, old wiring or an existing wall that is not where the drawings say it is.
- Rule or design corrections. An inspector requires something different, or the drawings turn out to be wrong.
You can mostly prevent the first two. The third and fourth you can only reduce, through good surveys, thorough drawings and a sensible contingency.
Why changes cost more mid-build
A change on paper costs almost nothing. The same change after the work is built costs a lot. Here is why:
- Rework. Someone has to take out what was built, often damaging neighbouring work, then build it again.
- Wasted materials. Items already ordered or cut may not be returnable or reusable.
- Lead times. Windows, doors, custom joinery and some appliances can take weeks or months to arrive, depending on where you are. Ask your suppliers.
- Trades waiting. The plumber, electrician and plasterer are scheduled in sequence. A change can leave a crew idle or push it to a later slot.
- Admin and markup. Some contracts add a fee or percentage to change work. The amount varies, so check yours.
- Knock-on effects. One change often forces another, such as structure, wiring, plumbing and finishes.
How the cost of a change grows
| Stage when you decide | Typical effect | Relative cost |
|---|---|---|
| Before the contract is signed | Redraw the plan, re-quote | Lowest |
| After signing, before ordering | Update drawings and the order list | Low |
| After ordering, before install | Cancellation fees, restocking, new lead time | Medium |
| After install or framing | Demolition, rework, re-inspection | High |
| After finishes (paint, tile, cabinets) | Repair and refinish as well | Highest |
This is a pattern, not a price list. Actual amounts depend on your country, contract and the specific change.
Examples of changes that get expensive
Small-looking changes are the ones that catch people out.
- Widening a doorway from 80 cm (32 in) to 90 cm (36 in) after the frame is up. The opening needs a new header or lintel, the door has to be reordered and the wall finish repaired. If it is a load-bearing wall, you may also need an engineer.
- Enlarging a window from 120 cm (4 ft) wide to 180 cm (6 ft) wide. This usually means a bigger structural header, a new window order and extra cladding work.
- Raising the ceiling from 2.4 m (8 ft) to 2.7 m (9 ft). This has to be decided before framing. It affects wall height, stairs, door heights, cladding and sometimes the overall building height limit.
- Moving a kitchen island by 60 cm (2 ft) once the plumbing and floor outlets are installed. That means new pipework, new electrical runs and possibly cutting into the floor.
- Swapping a fixture such as a bath or shower tray for a different size after the waterproofing is done.
- Adding sockets or lighting after the walls are closed. Before closing, it is a small extra job. Afterwards, it means chasing walls and patching.
The pattern is the same each time: the later the change, the more finished work has to be undone.
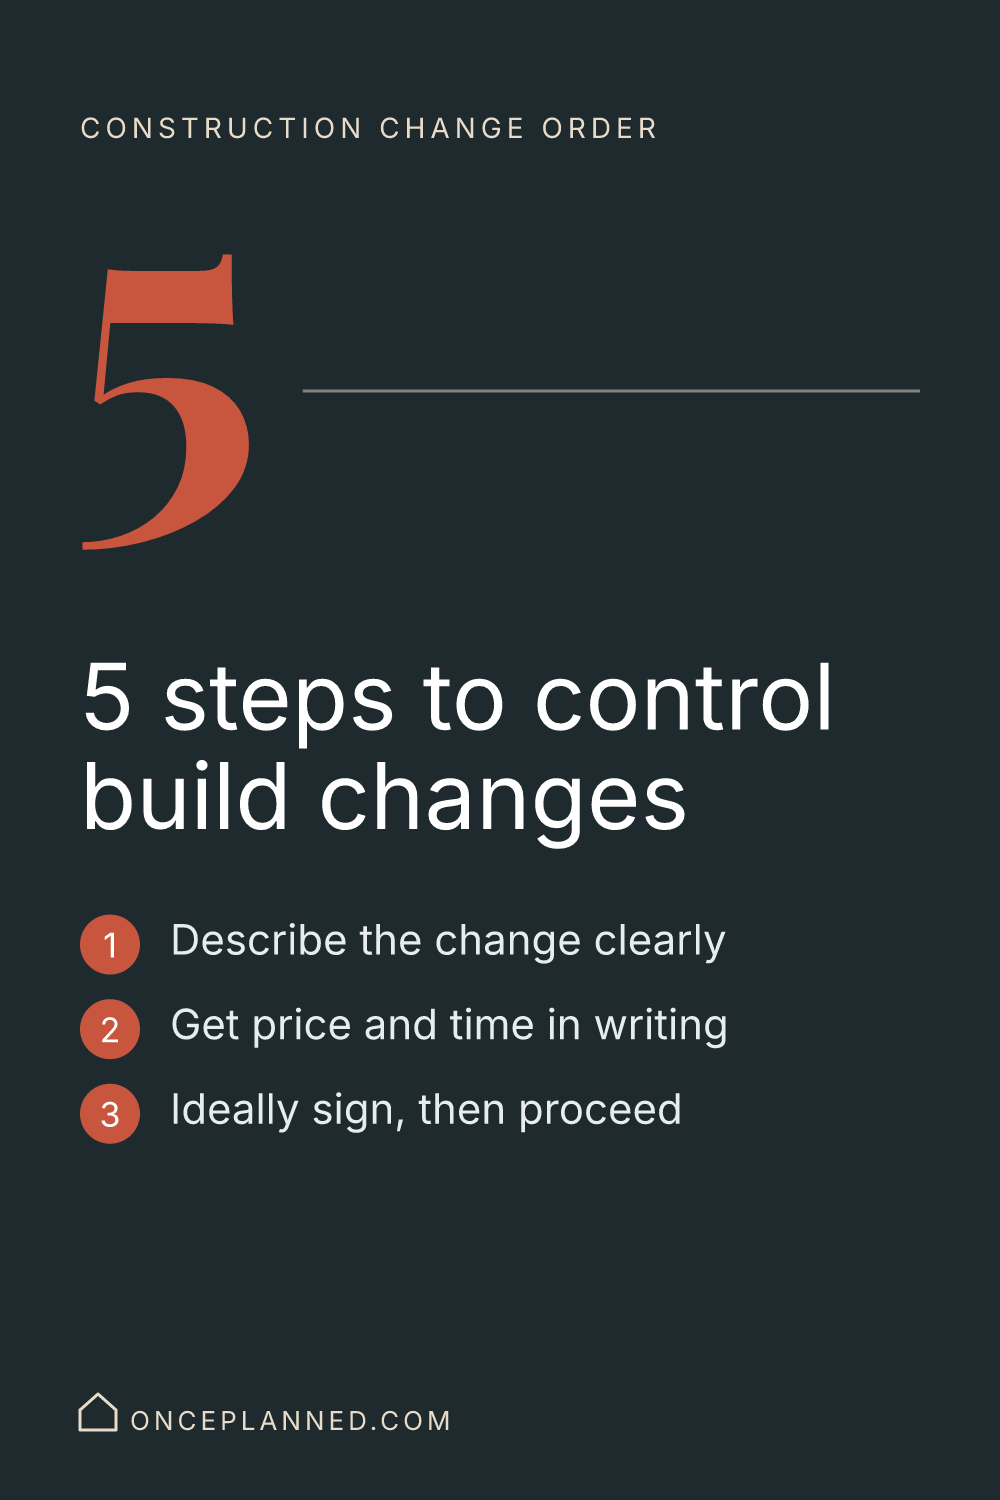
A simple change-control process
You do not need legal training. You need one routine that you and your builder both follow every time.
Step 1: Pause and describe the change
Write one or two plain sentences. "Widen the opening between kitchen and dining room from 90 cm (36 in) to 150 cm (5 ft)." Add a sketch or mark up the drawing.
Step 2: Ask for price and time in writing
Before you say yes, ask for the cost, itemised if possible, and the effect on the finish date. A verbal "it's about a thousand" is not enough.
Step 3: Check the knock-on effects
Ask: "What else does this touch?" Think structure, electrics, plumbing, heating, inspections or permits, and any items already ordered.
Step 4: Approve in writing, then proceed
Both sides sign. Work on the change starts only after that. If something is urgent, a confirming email the same day is better than nothing, but follow it with the signed form.
Step 5: Record it
Keep every change in one list with its date, cost and time impact. Add up the running total so you always know where the budget stands.
What a change order form should include
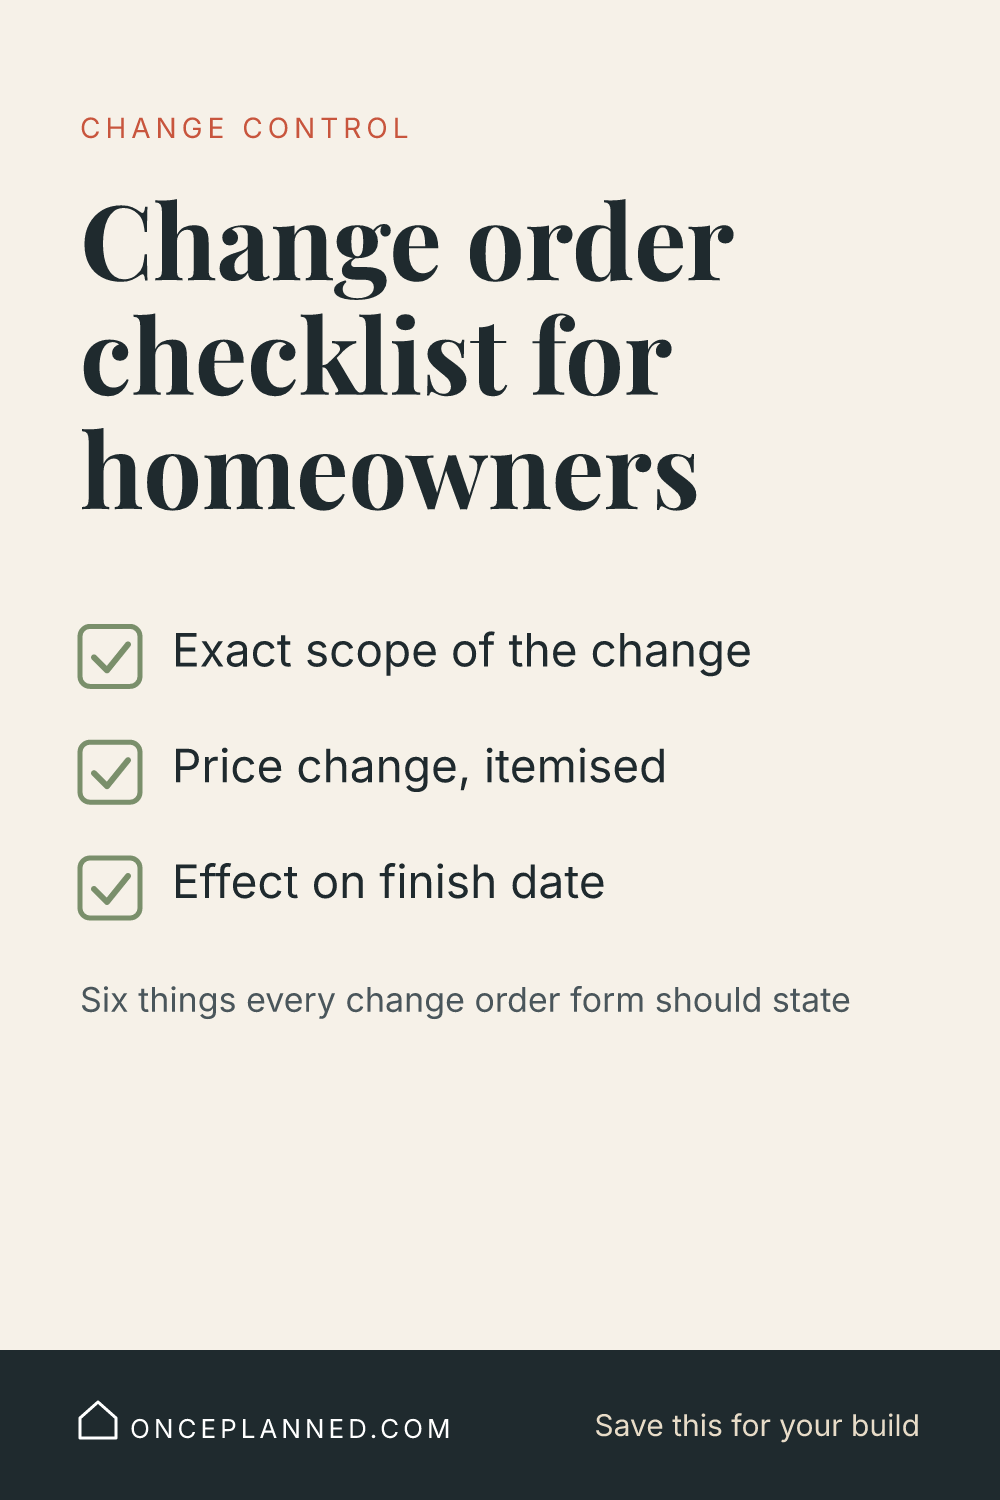
You may find a change order template online, and many builders have their own. Whichever you use, check that it states:
- A reference number and date.
- A clear description of the change, with drawings if relevant.
- The reason for the change (client request, unforeseen condition, correction).
- The cost change: added, removed and net total, with tax treatment stated.
- The effect on the schedule, in days or weeks.
- The revised contract total and completion date.
- Signatures from both you and the builder.
A change order form can also record credits. If you drop a feature, the saving should appear on the form too.
Formats and legal requirements differ between countries. Have your local architect, builder or solicitor review any template before you rely on it.
What to ask your builder before you sign
Ask these questions up front. The answers belong in the contract, not in a chat.
- How do you handle changes, and what must I sign?
- Do you add a fee or percentage to change work? How much?
- How quickly will you price a change after I ask?
- Will you stop work on the affected area until I approve?
- Which items in my quote are allowances, and what happens if I choose above them?
- What are the ordering cut-off dates for windows, doors, cabinets and appliances?
- Who pays if the drawings or the site conditions turn out to be wrong?
Common mistakes
- Agreeing by text or in passing on site. Without a signature, you have no record and the final bill will surprise you.
- Leaving selections open. "Allowance" items such as tiles, fixtures and lights are a common source of extras.
- Not asking about time. A change can be cheap in money but add weeks to the schedule.
- Skipping a contingency. Many owners hold back a reserve for the unexpected. How much is sensible depends on the project and whether it is new-build or renovation, so ask your builder or architect. Renovations of older buildings usually need more room for surprises.
- Not walking the site early. Standing in the framed rooms before walls are closed is the cheapest time to spot a problem.
- Forgetting the money cap. If you do not know the running total of changes, you cannot decide whether the next one is worth it.
Keeping decisions in one place
Many change orders start with a decision that was never made, or one that was made and then forgotten. A decision register, a single list of every choice with its deadline, owner and status, helps with this. The Once Planned decision kit is one way to keep those choices together. A notebook or spreadsheet works too, as long as it is up to date and you and your builder both use it.
Decide before you build: checklist
- Final floor plan agreed, with room sizes and door and window positions confirmed on drawings.
- Ceiling heights decided, for example 2.4 m (8 ft) or 2.7 m (9 ft).
- Window and door sizes and types chosen, and lead times confirmed.
- Kitchen and bathroom layouts fixed, including appliance and fixture models.
- Socket, switch and lighting positions marked on a plan.
- Every allowance in the quote identified, with a chosen item and price.
- Change process written into the contract: who prices, who signs and how fast.
- Builder's fee on changes known, in writing.
- A contingency reserve set aside.
- A running list of changes, costs and dates started.
Plan it once. Build it once.
This article is general guidance. Contracts, rules and terminology differ by country, so check specifics with your local builder, architect or building authority.
Save these for your build